Keyshot is a 3D rendering and animation software. It is most prominent for its fast real-time rendering feature, and it is one of the most popular programs to create 3D web embeds and iframe 3D models optimized for Augmented Reality (AR). Keyshot has a simple and intuitive interface that makes it easy to use for fast renderings, and preferred by a lot of 3D artists and AR developers as it is optimized for use with both Windows and Mac PCs. You also do not need the best, most sophisticated hardwares to use it.
Lighting a scene can be challenging, especially if you're trying to convey a story or mood in the render. In Keyshot, the addition of Physical Lighting was a game-changer for designers. It made lighting complex scenes much easier and more intuitive, saving time in production.
The addition of Light Gizmos takes this further by adding a direct manipulation method for working with lights in your scene. Light Gizmos are an interactive mesh that lets you position and manipulates your essential lights in 3D space.
Keyshot 10's new Light Gizmos feature is perhaps the most exciting addition to Keyshot's lighting & rendering tool set since the introduction of Physical Lighting. In this tutorial, we'll take a look at some of Keyshot 10's awesome new lighting UI and learn about the all-new light Gizmos feature.
Keyshot has a quite simple and intuitive interface for a smooth user experience when navigating the program. Upon launching the program, you are greeted by the "Welcome Window" where you will be able to access links to online contents including tutorials to get you started. You can also find recent projects you have worked on here so that you can jump straight right into them.
Open the 'Workspace' of your choice by selecting from the list of workspace presets available on the drop down menu located at the top left corner of the screen. The next screen is where everything from importing to rendering and exporting happens. You have the "Ribbon" at the top section which provides quick access to commonly used settings and tools, the "Project Tab" at the right by default, and the center of the screen which is the "Real-time View". Here, you can see and manipulate your 3D model in real time.
The "Bottom Toolbar" where you can find options such as "Import", "Animation", "Render" and so on can be found at the bottom of the screen. At the bottom left corner, there is a "Cloud Library" where you can access pre-made materials, environments and other assets. These panels can also be undocked and rearranged as pleased.
To populate your scene, you can either import 3D CAD files in any of the file formats supported by Keyshot (see list of supported formats here) either from your local library or Cloud Library, or import geometry shapes available on Keyshot into the scene by clicking on the "Menu" at the top-most part of the screen. Click on the "Edit" icon, and from the options in the drop-down menu, select "Add Geometry". This will open a list of geometry shapes including sphere, cylinder, cube etc. and you can also choose to add a ground plane where your models are placed. To create your 3D model, you can start by adding a ground plane and basic geometry shapes available in Keyshot, add materials and texture, and place your models in any of the "Environments" available in the Cloud Library.
If you have your 3D CAD model ready, you can import it in the scene by clicking on the "Import" icon at the "Bottom Toolbar" located at the bottom of the screen. Once you have your model in the scene, ensure the different parts of it are unlinked by selecting "Scene" on the "Project Panel" at the right side of the screen to reveal your model sets, right-click on your model, hover your cursor on "Material" to reveal the options, and select "Unlink Material" from the fly-out menu. This way, you can apply different materials to different components of your 3D model.
You can either select from over 850 material options available in Keyshot from the "Library" located at the left side of the screen, or import any material of your choice from the regularly updated "Cloud Library". You can simply type the name of the material in the search box, or scroll through the list to see and preview which might be best for your 3D model. Assets you import from Cloud Library will be downloaded and can be accessed from the "Library" panel from that moment.
Now that your desired material has been selected, you can customize your material type and color, specular, texture, roughness etc. by selecting the "Material" tab on the "Project Panel" on the right side of the screen, and playing around the parameters until you are satisfied with your result.
Adding textures to your 3D model to make it realistic is easy with Keyshot. Open the "Texture Library" tab on the "Library Panel" on the left side of the screen. There are numerous texture presets you can drag and drop on selected materials on your model to give it a look you are satisfied with. From the "Material" tab, you can also alter image texture options by clicking on "Texture" to reveal a drop-down menu of available options of "Image Textures", "2D Textures" and "3D Textures". You can adjust the parameters of each texture by moving the corresponding slider, or inputting a numerical value in the provided text box.
The size and mapping of selected texture can also be altered in the "Texture" subtab available in the "Material" tab of the "Project Panel" where you can choose between "Mapping Type" options by clicking on it to reveal a drop-down menu with a number of options. Depending on the option selected, you can adjust parameters specific to each of the listed options by moving the slider corresponding to them.
To avoid loss of textures and materials added to your 3D model to be used as 3D web embed or iframe 3D model for Augmented Reality (AR) application, your model must be "UV-mapped" before exporting. To do this, ensure the model you want to "unwrap" is opened, select the element of the model you wish to "unwrap" from the "Project Panel" on the right side of the screen, locate "Tools" on the "Ribbon" at the top of the page, click on it and select the "Re-Tessellate" option from the secondary drop-down menu.
Adjust the values displayed on the left side of the floating window displayed until you are satisfied with the result. A "Tessellation Quality" value between 0.2 to 0.4 is recommended but higher values can be used based on your want. Click on "Apply", then "Done" to save your values and have it reflect on your 3D model.
The next step from here is to "split" your object surfaces to make "unwrapping" easier. This is done by right-clicking on the object you'd like to split, and clicking on the "Split Object Surface" from the menu displayed. This will open a floating window where you can select and split different surfaces of your object by clicking on them, then clicking on the "split" option you will find on the left part of the floating window.
From here, "UV-Unwrapping" is easy. Right-click on a portion of the surface you want to unwrap, and select "Unwrap UV" from the options listed. A floating window is launched displaying a "mesh" version of the surface selected, and a menu list on the left side. On the Menu, select "Set Direction Guide" and mark 2 points on the mesh that is in the plane of the surface to suggest the direction you would like the UV to be oriented in. Click on the green "check" icon to save the direction, click on "Unwrap" and then "Apply" on the bottom-right side of the floating window. Repeat this process for the remaining splitted surfaces.
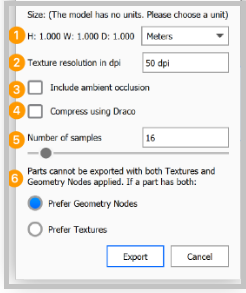
Before exporting, you must ensure the resolution of the scene is optimized for exporting as .glb or .gltf. A higher resolution means a more precise and accurate texture but will also increase the file size which in turn increases the time it takes to preview the model when used as a 3D web embed or iframe 3D model.
To upload your 3D model on p3d.in, you can either place your .obj file, .mtl and all texture files used into a single ZIP folder, or select the files together with all texture files used (.png, .jpg, .gif) when loading them onto the interactive viewer on p3d.in. The .obj file contains all the geometry data of your 3D model, and the .mtl file format contains the material details of your 3D model.
Other supported file formats are: GL Transmission Format .gltf/.glb, FBX (Filmbox) .fbx and STL format (.stl).
p3d.In is a platform where you can instantly share your 3D models online and in Augmented Reality (AR) in real-time.
glTF stands for GL Transmission Format. It's a new file format that enables us to pack multiple assets (such as textures and geometry) into one single file. This format is designed for applications' efficient loading and rendering of 3D scenes and models. Since glTF is an open standard, anyone can use it, including using this format in Keyshot.
For those unfamiliar with the glTF format, it's the successor of the Collada format and has a big advantage over it: glTF files are small files. The format is built upon three things: binary buffers (the geometry), binary images (the textures), and JSON data (the rest).
All this is bundled together into one file using zip compression. As a result, you end up with a file that contains all your geometry, textures, UVs, vertex colors, etcetera in a small package. The best part is that no installation is needed to view these files on a desktop or mobile device: open them in your browser or use one of many standalone viewers like Keyshot.
There are some restrictions on the export of the glb/glTF format. You can export transparent plastic material by using the diffuse color only.
When you export a glb/glTF model from this application, you can import it into any other application that supports the glb/glTF format, such as the p3d.In 3D model hosting and visualization framework.
Ready to export your model? Click File , then export . Choose a file type from the dropdown menu, give it a name and location, and click Save.

You can use your 3D application's exporter to generate a suitable glb/glTF file and upload the model to p3d.In, you can upload any number of files with a size of up to 300 MB.
p3d.In supports a wide range of 3D file formats including:
The lighting in your render can make or break a model. You can have the most beautiful materials applied to an object, but if the lighting is wrong, so will your renders. In this Keyshot tutorial, we will teach you how to use Physical Lights and Light Gizmos in Keyshot so that you can achieve real-life lighting scenarios with your models.
KeyShot includes both Physical lights and Emissive materials to illuminate your scenes. Physical lights are lights that behave like they would in real life. They have a temperature, spread, intensity, and falloff.
Emissive materials emit light based on their brightness value. Combining these two light types gives you a powerful toolset for creating photorealistic renders from your 3D models.
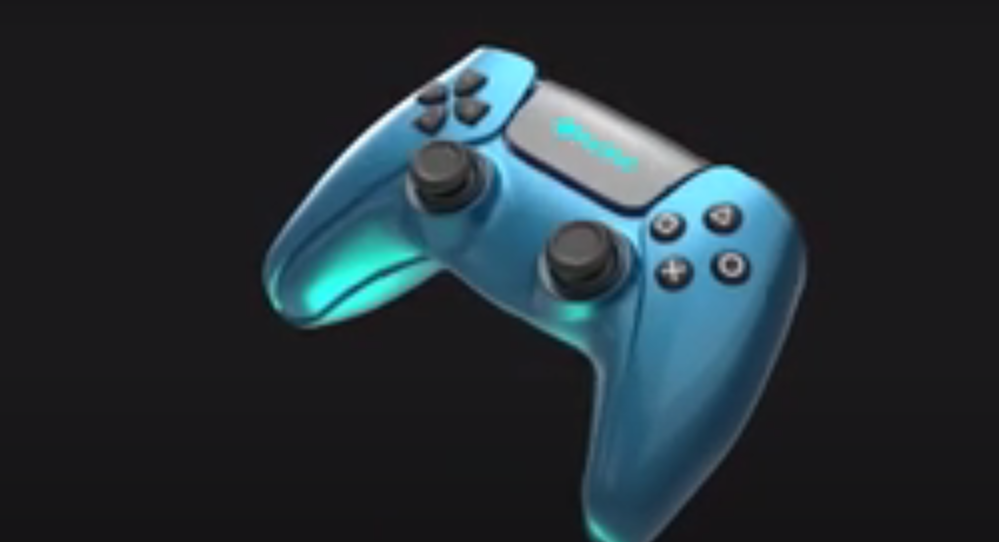
Keyshot 10 includes helpful and intuitive UI changes, including physical lights and light control updates.
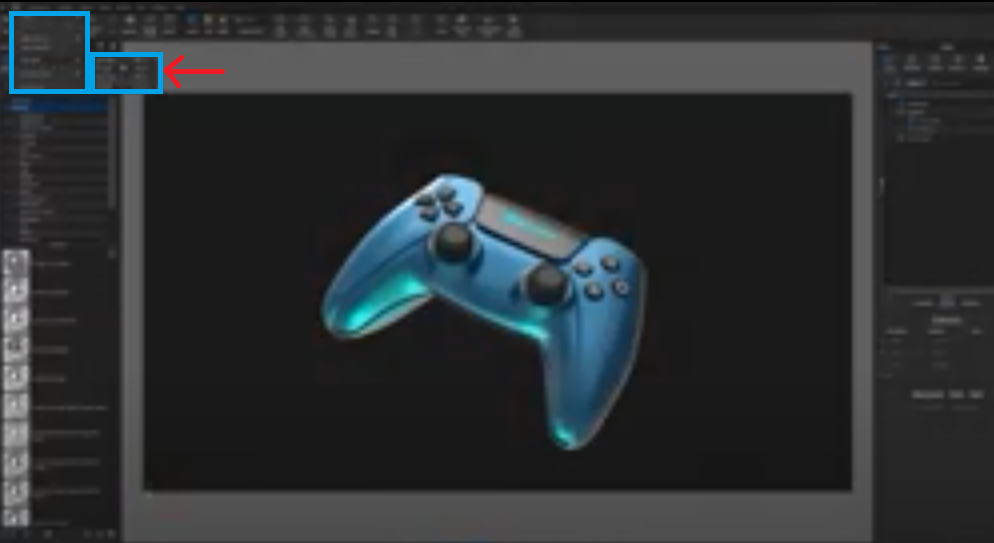
In previous versions, adding physical lights to your scenes required assigning a light material to a piece of geometry already in the workspace.
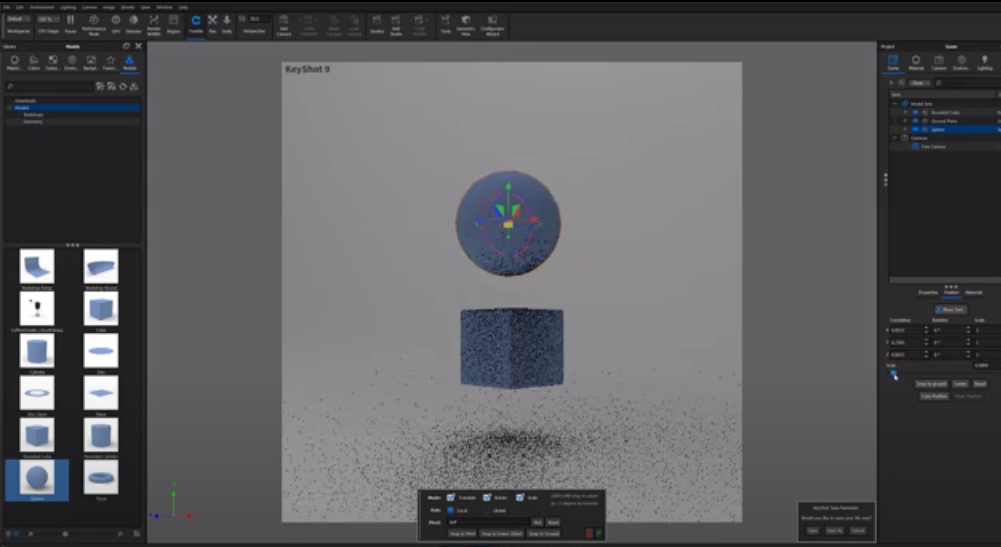
Keyshot 10 has simplified this even further with a new one-step lighting solution. It allows you to add a light independent of an existing piece of geometry.
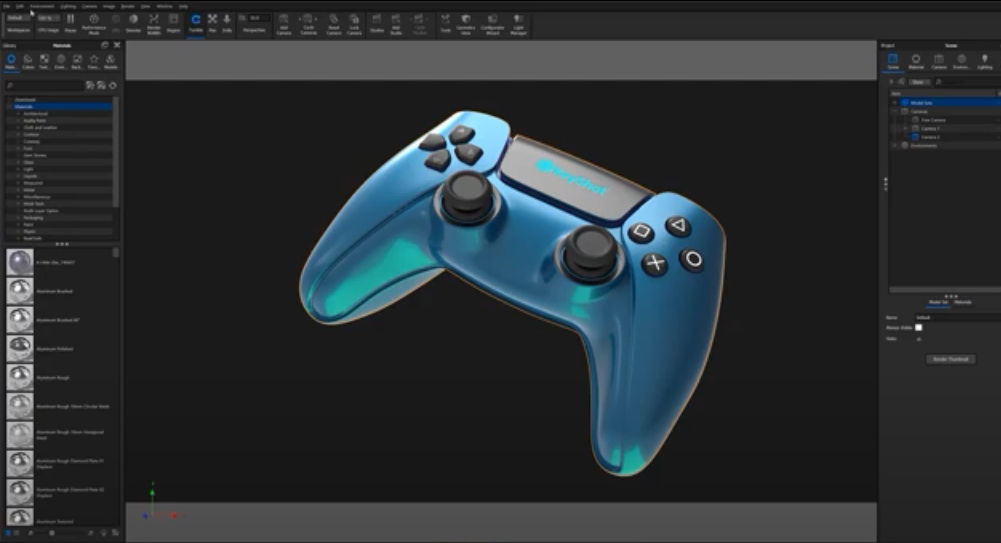
To do this, click on the edit dropdown above the ribbon. Open the added light fly-out menu and choose the type of physical light you would like to add. It will then automatically populate your scene.

We have an all-new lighting UI on the topic of light that allows us to set up three-point lighting with just one click. These lights are a key light, fill light, and backlight. In Keyshot, you'll see that we have what's called a Light Gizmo, or a Light Widget, that allows us to control the position of each of these lights individually.
We can also control their intensity as well as their color. If I wanted to change the color of my fill light, or any other light for that matter, I could do so by double-clicking on the appropriate location within this widget.
We can also view a Light Grid that allows us to quickly visualize how our current lighting setup affects our model in real-time. Adding physical lights in Keyshot 10 is now as easy as adding geometry, making the process more streamlined and easier than ever.
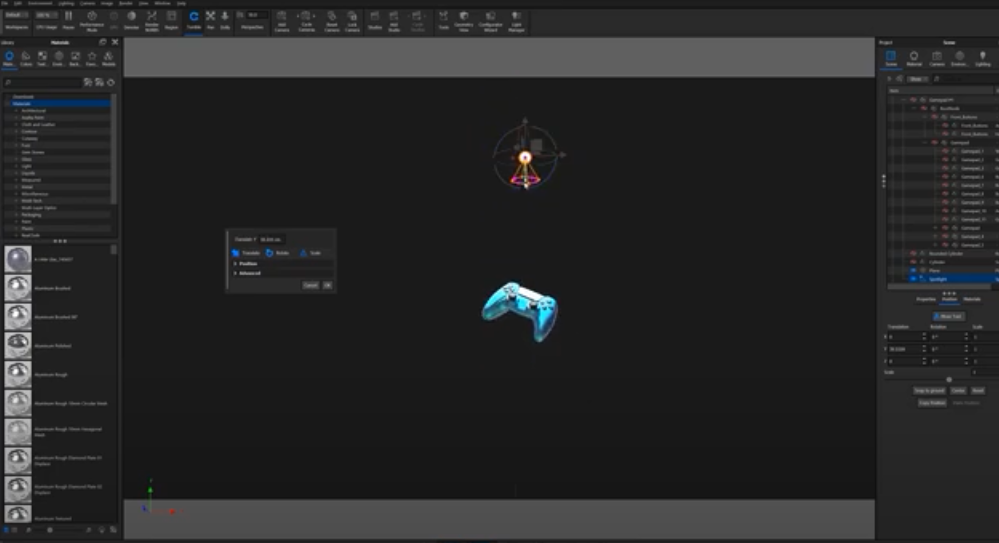
The Light Gizmo is a visual representation of the position and orientation of your light source. It is also a tool that helps you adjust the light's position and rotation. The Gizmo is by default centered at the origin of your scene. It points along the positive Z-axis, which is up in Keyshot.
You can place and rotate the light Gizmo by clicking, holding, and dragging any colored handles or spheres. The colored handles represent X, Y, and Z axes; the red handle for X, green for Y, and blue for Z. The white sphere represents all three axes.
The green sphere represents the light's center point or target point. You can click and drag this to move it or use its numeric input box to enter specific coordinates in 3D space. Not only has Keyshot 10 streamlined applying lights, but it has also streamlined the lighting process if you've already used Physical Lights in Keyshot 10.
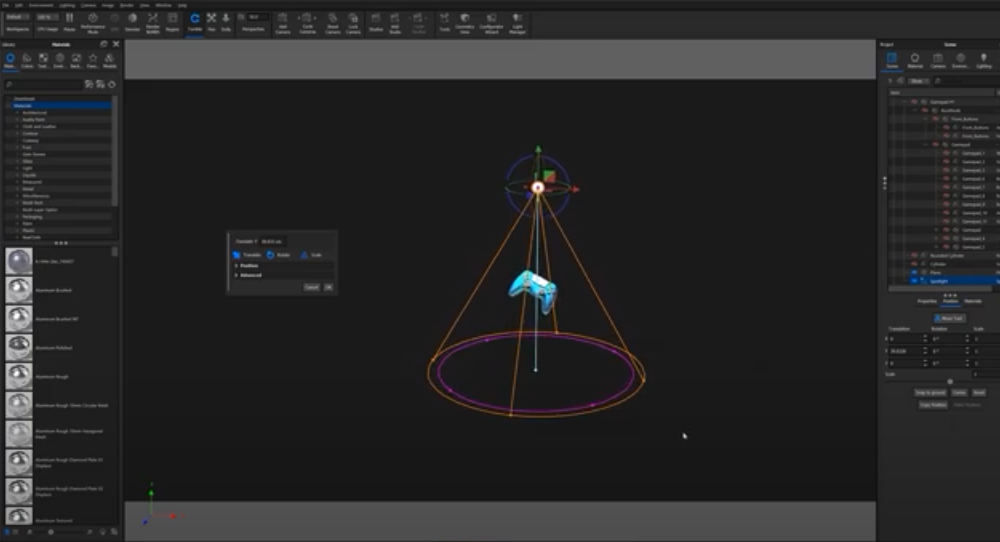
You may have noticed a change to the "visible wireframe" that accompanies each light type. In Keyshot 10, the added visible wireframe helps you see the area of effect the light is casting. It can be from a lens or mirror, whether on or off.
There are three options for the visible wireframe:
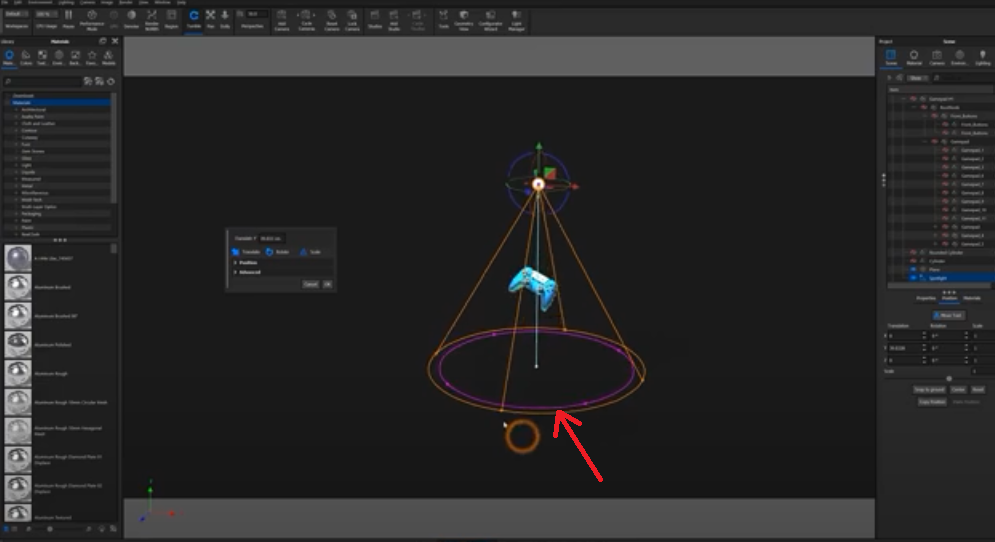
Essentially, Light Gizmos act as visual editing tools that directly manipulate light sources entirely from the real-time view. You can move, rotate, and scale each Light Gizmo in a scene as an alternative to using traditional light controls in the interface.
The Light Gizmos allow you to make quick and easy adjustments to your lighting setup with visual feedback on how these changes will affect your final render.
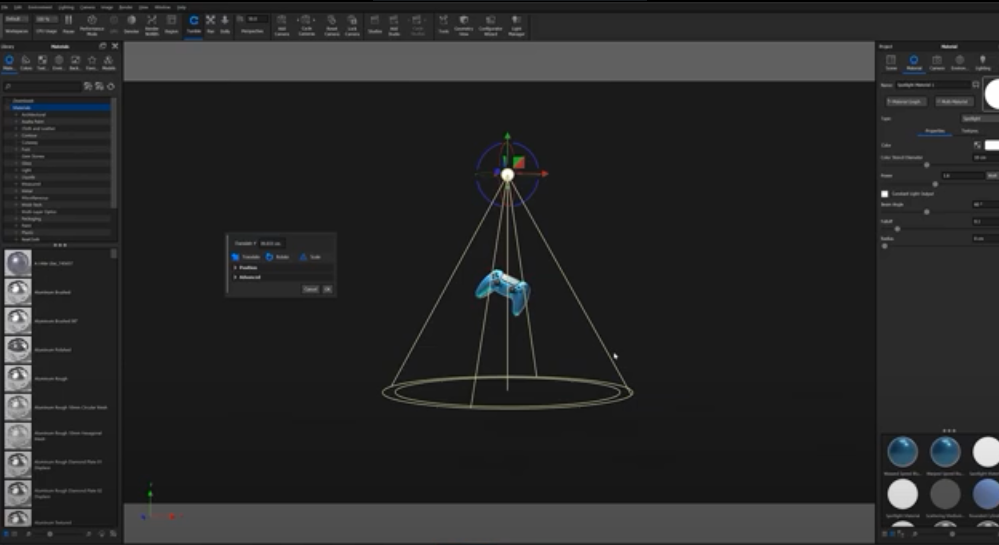
Although each physical light has different Light Gizmos and adjustable settings, they operate on the same principles. Physical Lights are a set of simple lights to use but provide plenty of options to control their appearance.
These lights are physically accurate, mimicking natural world lighting conditions. Physical Lights include a point, parallel, dome, and environment. Each of these lights has some differences and shared settings that you edit in the Material Nodes Editor.
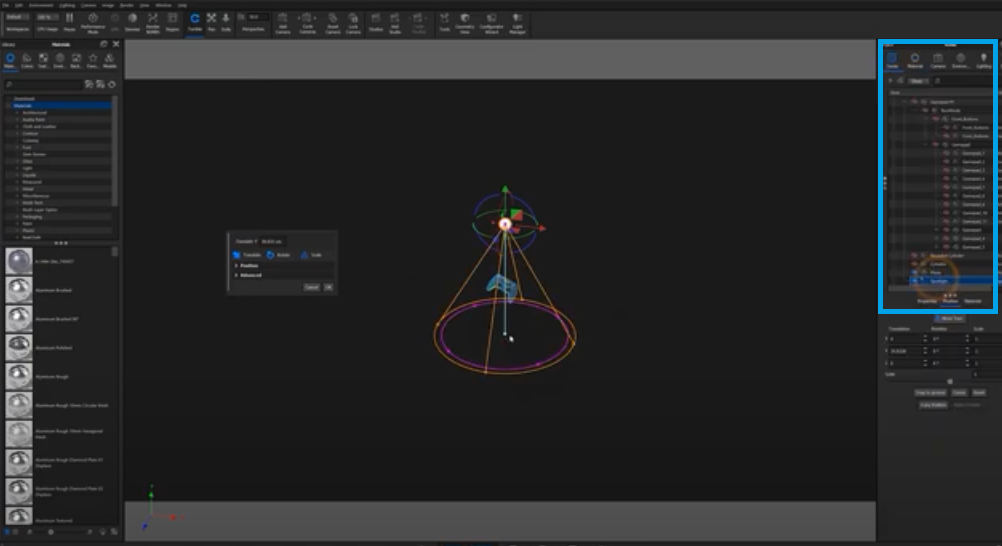
Let's look at our spotlight to understand better what light gizmos are. Notice that the spotlight light type projects two visible circles onto the ground plane. Both emanate from a single point located in the center of the light source.
The brighter circle is where the light intensity is 100% since it emanates directly from the point source. This type of light is called a specular highlight, one of several elements that contribute to how shiny an object appears.
The outer darker circle is called falloff, where the intensity of the light begins to drop off as we move away from the point source. Finally, the area between these two circles receives ambient illumination and indirect illumination, which are separate components of every scene.
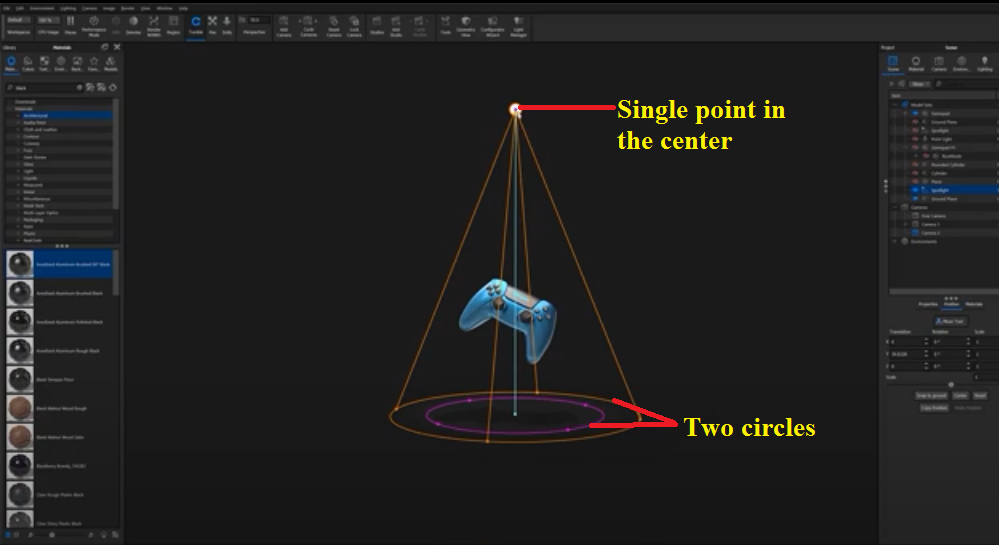
You may notice that the light's position circles have an outer and inner circle. The outer circle allows you to rotate the light around the scene. By grabbing one of the handles on the outer circle and dragging it, you can adjust the light's beam angle.
You can see the content property settings reflected in the material property settings located in the project panel. The smaller a spotlight's beam angle, the more focused the light will appear.

The inner circle allows you to move the light left, right, forward and backward. By adjusting the inner circle, you control the degree of falloff created by your spotlight. There is a blue handle located in the center of the circles.
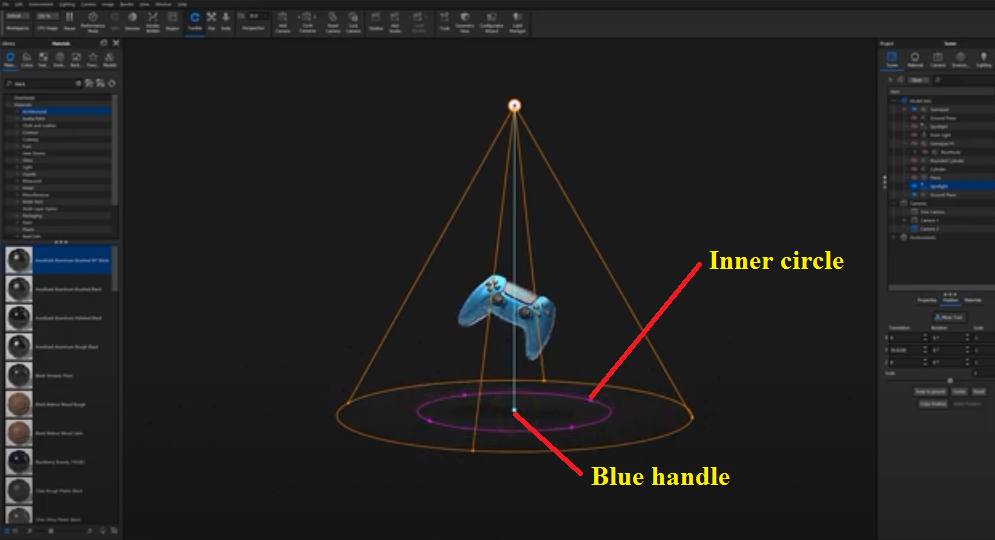
By dragging the handle up or down, you can adjust the projection distance of your Light Gizmos. The adjustable circles accurately reflect the lit area on a ground surface or object surface of your choice.

Finally, Light Gizmos also allow you to control the radius of a spotlight by clicking the point centered on the light source and dragging outward.
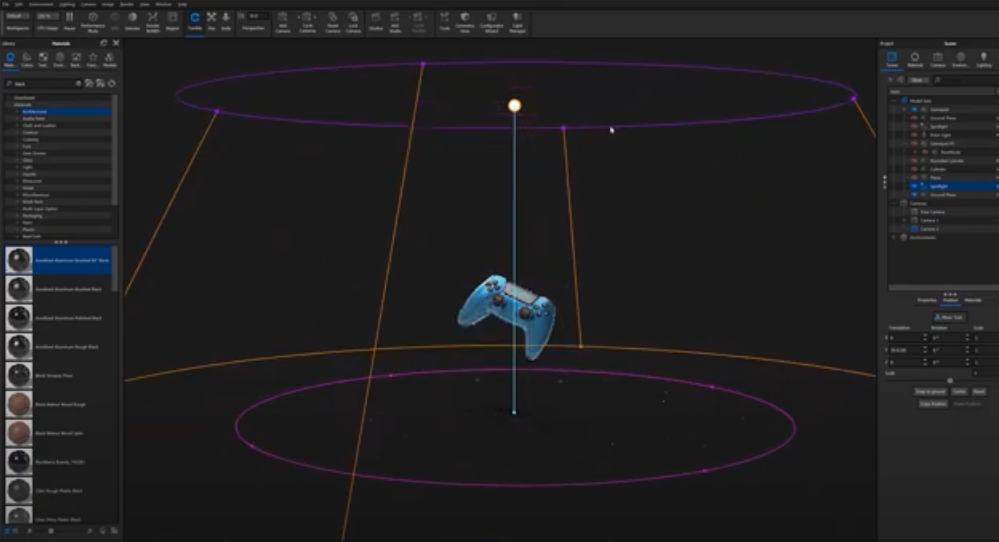
By doing this, a third circle will appear that illustrates the overall radius of the spotlight you're adjusting.

As we mentioned, each physical light has slightly different variations of these adjustment parameters. Each one essentially functions in the same manner, making light adjustments intuitive across multiple lighting options.
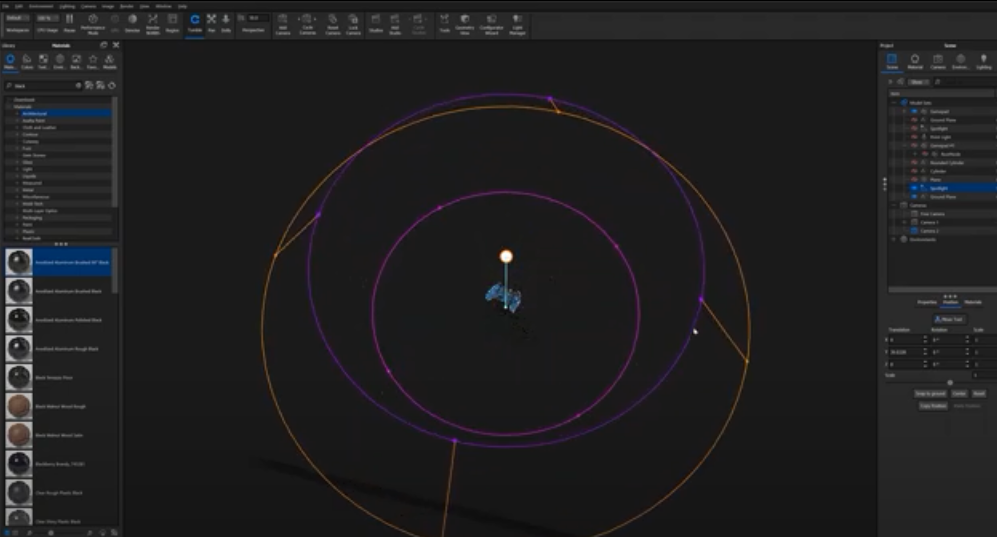
Keyshot is a tool for rendering 3D models into 3D images. Rendering and lighting software on the market today aren't easy to use because they require a high level of knowledge and experience.
However, Keyshot is the opposite. With Keyshot, users can quickly create images that look like photos, thanks to the familiar user interface based on real photography parameters.
Rendering: Rendering is an advanced technology that allows you to apply complex textures, materials, and lighting effects to your model to make it as realistic as possible. However, for your final image to look like an actual photo, you need to set up the scene with light sources similar to reality.
Lighting: Lighting is one of the most important factors in creating a photo-like image in Keyshot. When choosing the right lighting method for your scene, you need to consider many factors such as material properties, environment, and how real-world light works.
Lighting by environment: Environment lighting is used when users want their models to be illuminated by natural light sources (sunlight) or artificial lights (indoor light). This type of lighting helps make images more realistic with natural reflections or shadows.
In the world of architectural visualization, mental imagery is everything. By using Keyshot to create photo-realistic renders and animations, you will be able to present your designs in a way that will truly transport people into your vision.
With glTF, you can export a model to the p3d.In host. The result is a high-quality visualization with animation, physics, and interaction.
We hope you enjoyed this Keyshot tutorial and that it will show you the best way to get the most realistic final render with perfect lighting.